Abstract
This project focuses on designing an automatic water control system that turns water on when a hand approaches the faucet and turns it off when the hand moves away. The system uses an ultrasonic sensor to detect the proximity of the hand. The main goal of this project is to teach the basics of electronics and robotics through practical learning. By using an Arduino, a 5V pump, a 5V relay, a battery, and connecting wires, this system provides an easy-to-understand way to introduce automation in everyday tasks such as hand washing.
Introduction
Automation is becoming an essential part of everyday life, from simple household tasks to complex industrial processes. One common application is the automatic control of water flow, which can improve efficiency and hygiene. This project aims to design a basic Automatic Water Control System using Arduino. The system detects when a hand approaches a faucet and automatically controls the water flow, providing a convenient and efficient way to use water without manual intervention.
This project is intended as a learning tool to introduce both children and adults to the fundamentals of robotics and electronics. By building this system, learners will gain hands-on experience with sensors, relays, and microcontrollers, making it an ideal project for developing skills that can be applied in more advanced studies, especially in engineering and technology fields.
Materials and Tools:
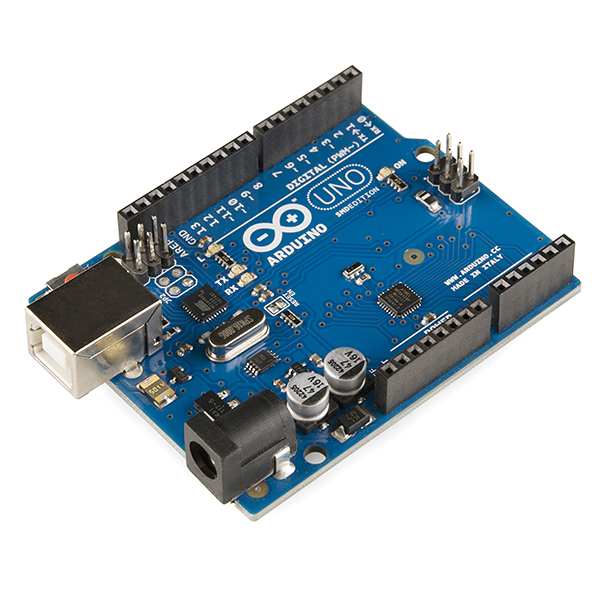
Arduino: The main controller used to manage the system.
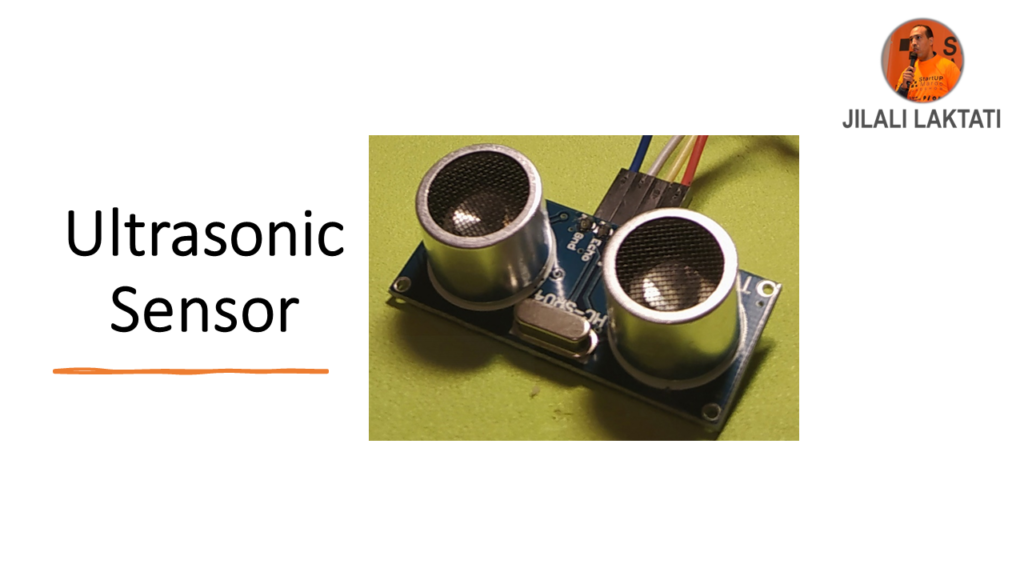
Ultrasonic Sensor: Measures the distance of the hand from the faucet.
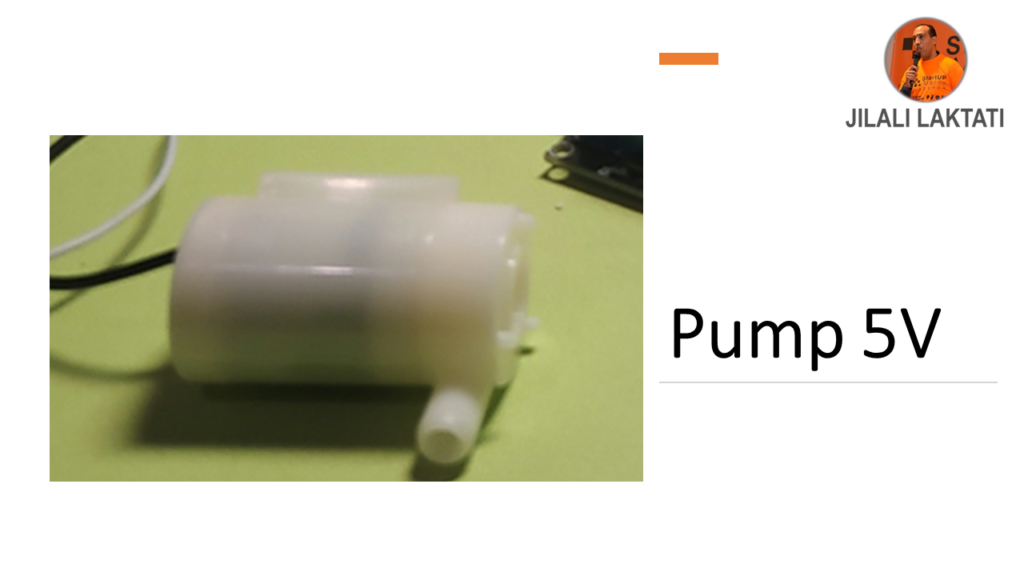
5V Pump: Used to control the flow of water.
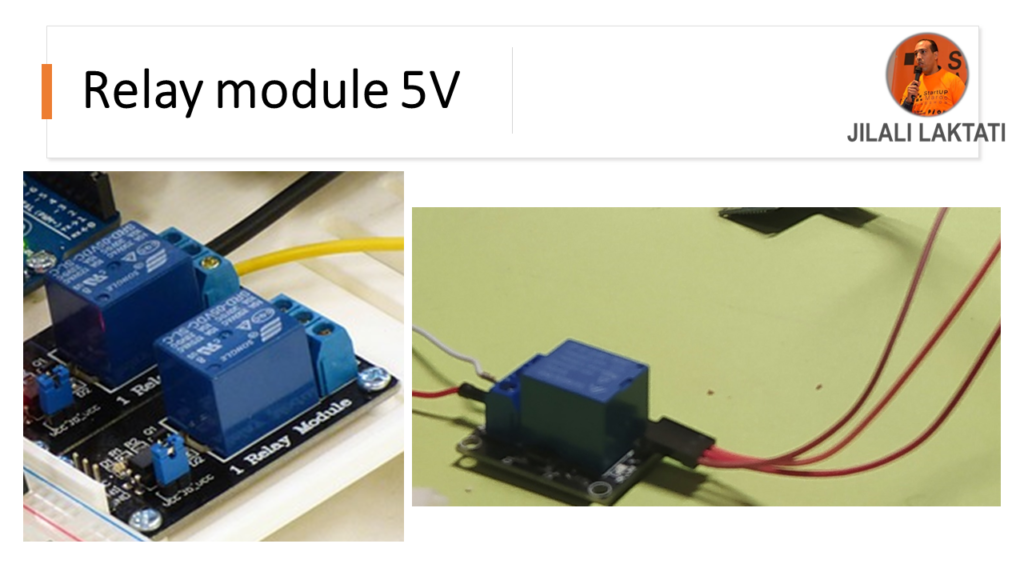
5V Relay: Acts as a switch to turn the pump on and off.
Battery: Provides power to the system.
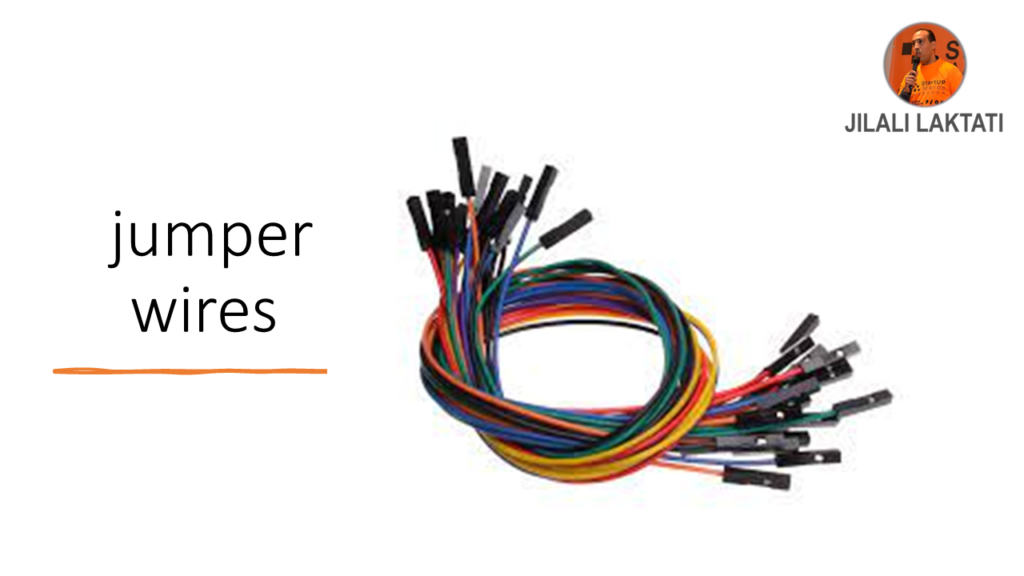
Wires: Connects all the components together.
Faucet and Water: The actual system where water flow is controlled.
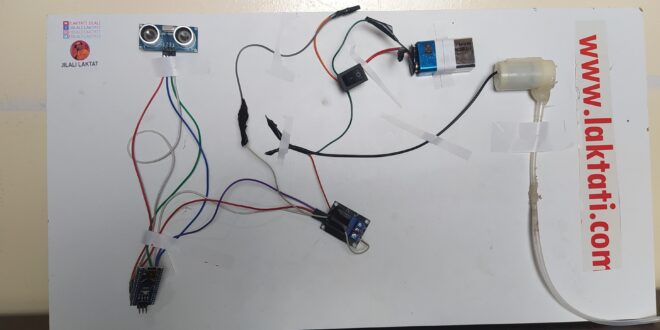
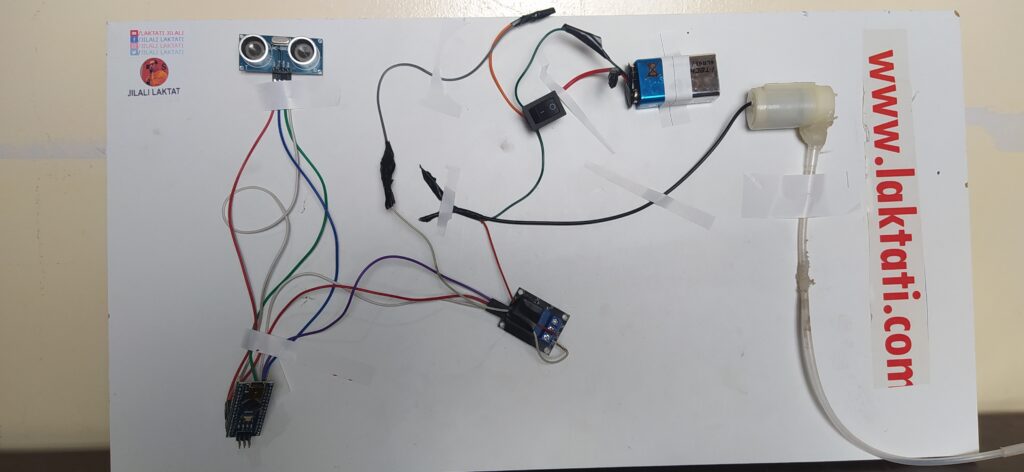
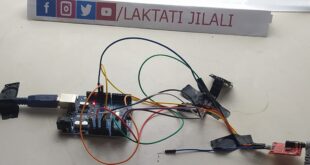
Representation of the Circuit Diagram :
Pin 6: Connected to the relay that controls the 5V pump.
Pin 7: Connected to the Trigger pin of the ultrasonic sensor.
Pin 4: Connected to the Echo pin of the ultrasonic sensor.
Battery: Connected to the Arduino and relay to provide power to the entire system.
Pump: The pump is connected to the relay, which controls its operation based on the Arduino’s signals.
Coding
int pump = 6;
const int trigPin = 7;
const int echoPin = 4;
float duration, distance;
void setup() {
pinMode(trigPin, OUTPUT);
pinMode(pump, OUTPUT);
digitalWrite(pump, HIGH);
pinMode(echoPin, INPUT);
Serial.begin(9600);
}
void loop() {
digitalWrite(trigPin, LOW);
delayMicroseconds(2);
digitalWrite(trigPin, HIGH);
delayMicroseconds(10);
digitalWrite(trigPin, LOW);
duration = pulseIn(echoPin, HIGH);
distance = (duration * .0343) / 2;
Serial.print("Distance: ");
Serial.println(distance);
delay(500);
if (distance < 8) {
digitalWrite(pump, HIGH);
delay(5n;,00);
}
else {
digitalWrite(pump, LOW);
}
}
Conclusion:
In conclusion, this project successfully demonstrates an Automatic Water Control System that meets its objectives by effectively and accurately responding to the proximity of the hand to the faucet. This system serves as a good example of how technology can simplify daily tasks and save time and effort. Additionally, the project offers a unique educational opportunity for learning the basics of electronics and programming.
The project stimulates interest in technology and provides a solid foundation for future robotics and electronics projects. With future improvements, the scope of this system’s applications could be expanded to include more practical and educational uses.
