By jilali LAKTATI : Computer Science Specialist
- Abstract
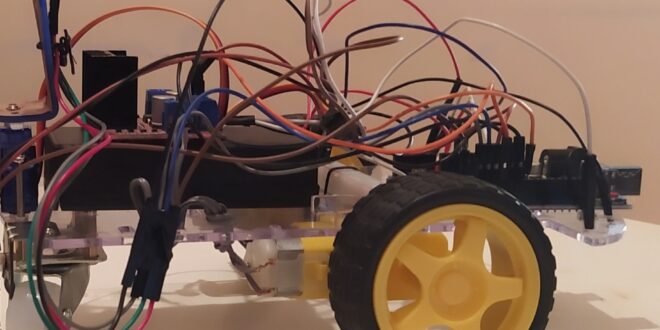
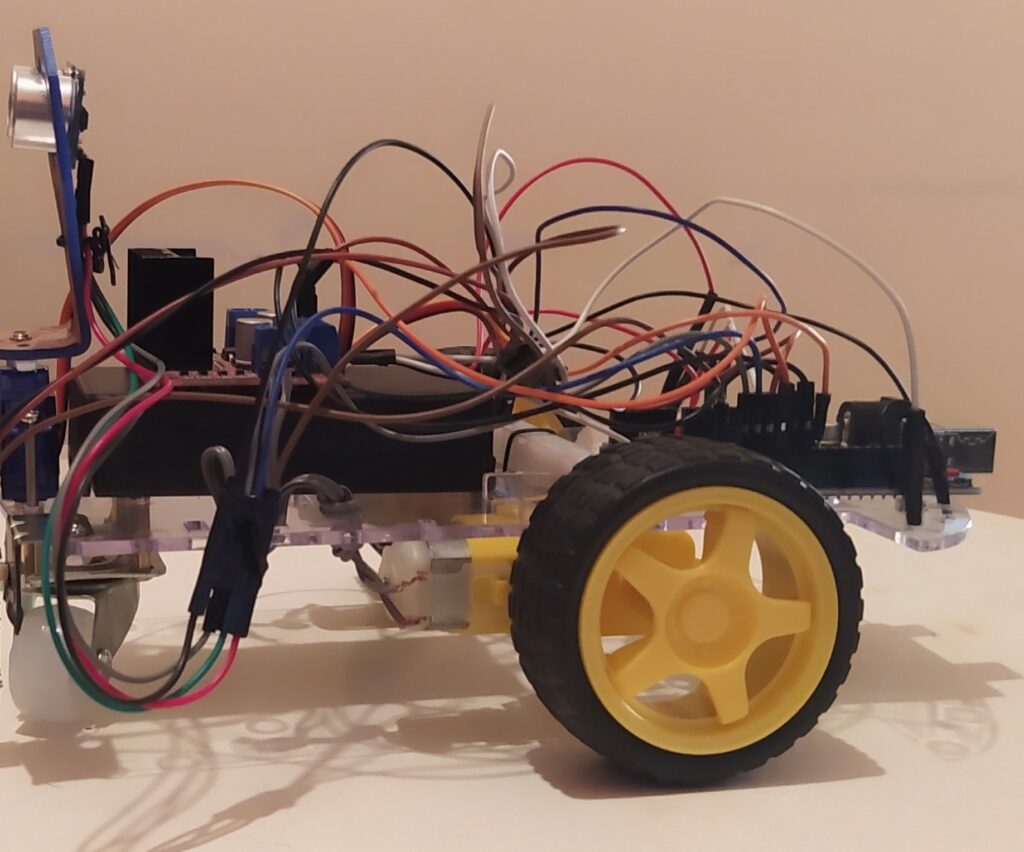
This project introduces an educational robot car. The robot, based on Arduino, follows an object and stops at a distance of 5 cm. This project offers a practical introduction to innovative technologies, fostering creativity and intelligence in young learners, guiding them toward future technical specializations.” Here’s the translation of the paragraph into English:
- Introduction
Today, technology is advancing rapidly, and learning robotics and programming is becoming increasingly important, especially for young people who want to prepare for future careers. This project introduces an educational robot car, designed to help students learn easily. The robot uses Arduino and sensors to follow an object and stop at a distance of 5 cm. Through this project, young learners can explore basic concepts, such as using sensors and controlling motors, while developing their creativity. This will help them prepare for important fields like robotics and artificial intelligence.
- Materials Used:
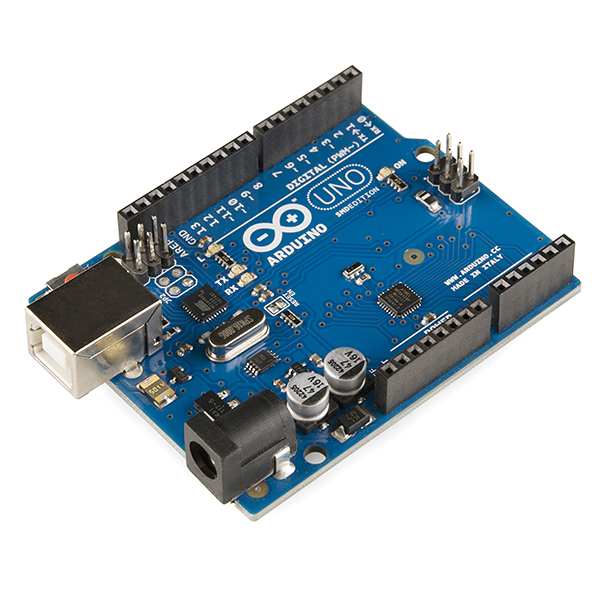
- Arduino: The Arduino UNO board is a rapid prototyping electronic board where sensors (inputs) and actuators (outputs) can be connected. It consists of various electronic components, the main one being a microcontroller that allows for storing and executing a computer program.
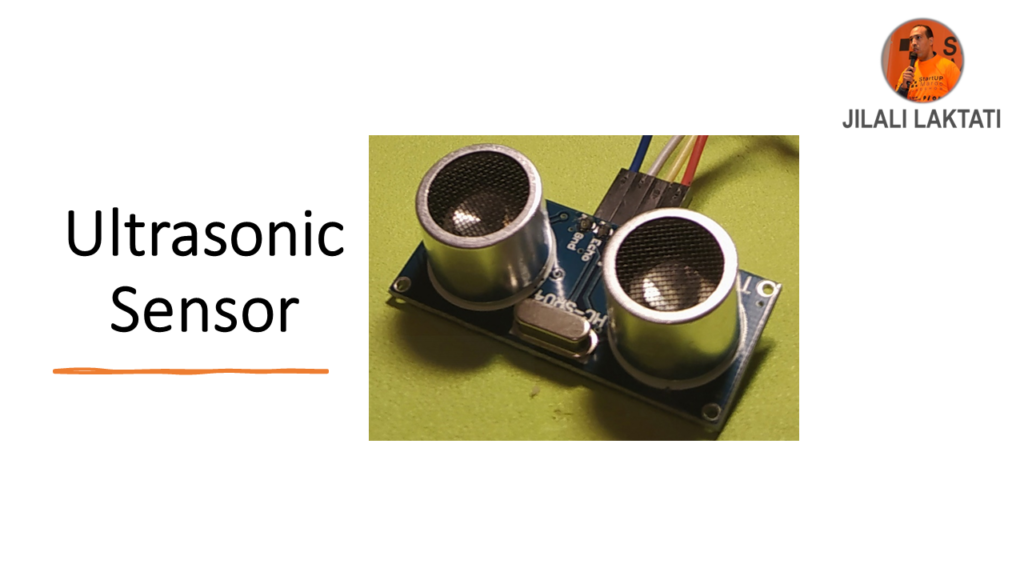
- Ultrasonic Sensor (HC-SR04): This module measures distances between a moving object and encountered obstacles.
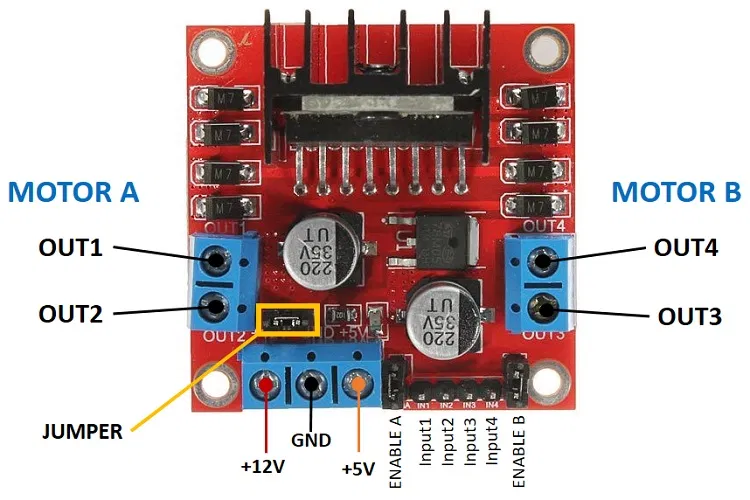
- Wheel Driver :
- Robot Car Chassis:
- Additional Components (wires, battery, etc.):
- Textual representation of the wiring diagram
- Arduino UNO:
a. Pin 9 → Connected to the Trig of the ultrasonic sensor (HC-SR04).
b. Pin 10 → Connected to the Echo of the ultrasonic sensor.
c. Pins 3, 4, 5, 6 → Connected to the motor driver module (L298N) to control the two motors.
- Ultrasonic Sensor (HC-SR04):
a. VCC → 5V power from the Arduino.
b. GND → GND of the Arduino.
c. Trig → Pin 9 of the Arduino.
d. Echo → Pin 10 of the Arduino.
- Motor Driver Module (L298N):
a. IN1, IN2, IN3, IN4 → Connected to pins 3, 4, 5, 6 of the Arduino to control the motors.
b. VCC → Connected to an external power supply (battery).
c. GND → Connected to the GND of the Arduino and the battery.
- Motors (2 motors for the wheels): Each motor is connected to the outputs of the motor driver module (L298N).
- Power Supply:
a. The external battery powers the motor driver module.
b. The Arduino can be powered by the battery or via USB.
. Coding :
// Déclaration des pins
const int trigPin = 9;
const int echoPin = 10;
const int motorPin1 = 3; // Premier moteur
const int motorPin2 = 4; // Deuxième moteur
long duration;
int distance;
void setup() {
pinMode(trigPin, OUTPUT);
pinMode(echoPin, INPUT);
pinMode(motorPin1, OUTPUT);
pinMode(motorPin2, OUTPUT);
Serial.begin(9600); // Pour le moniteur série
}
void loop() {
// Envoi d'un signal
digitalWrite(trigPin, LOW);
delayMicroseconds(2);
digitalWrite(trigPin, HIGH);
delayMicroseconds(10);
digitalWrite(trigPin, LOW);
// Lecture de la durée de l'echo
duration = pulseIn(echoPin, HIGH);
// Calcul de la distance
distance = duration * 0.034 / 2;
// Affichage de la distance
Serial.print("Distance: ");
Serial.println(distance);
// Contrôle des moteurs en fonction de la distance
if (distance < 5) {
// Si la distance est inférieure à 5 cm, arrêter les moteurs
Serial.println("Distance < 5 cm: Arrêt des moteurs");
digitalWrite(motorPin1, LOW);
digitalWrite(motorPin2, LOW);
}
else if (distance >= 5 && distance < 10) {
// Si la distance est comprise entre 5 et 10 cm, faire tourner les moteurs
Serial.println("5 cm <= Distance < 10 cm: Les moteurs roulent");
digitalWrite(motorPin1, HIGH);
digitalWrite(motorPin2, HIGH);
}
else if (distance >= 10) {
// Si la distance est supérieure ou égale à 10 cm, arrêter les moteurs
Serial.println("Distance >= 10 cm: Arrêt des moteurs");
digitalWrite(motorPin1, LOW);
digitalWrite(motorPin2, LOW);
}
delay(100); // Petite pause pour la stabilité
}- Conclusion
