Résumé
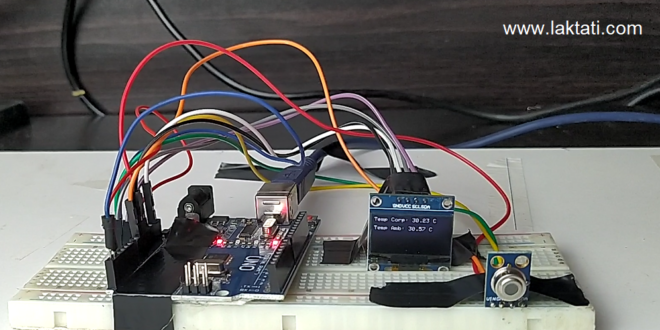
Cet article discute de la conception et de la mise en œuvre d’un système de mesure de la température à infrarouge utilisant la plateforme Arduino, en particulier avec le capteur de température infrarouge MLX90614 et un écran OLED. Le système est capable de mesurer à la fois la température corporelle et ambiante, fournissant des données en temps réel pour diverses applications.
Introduction
La mesure de la température est un aspect critique dans de nombreux domaines, notamment la santé, la surveillance environnementale et les applications industrielles. Les capteurs de température infrarouge offrent une méthode sans contact pour mesurer la température, ce qui est particulièrement avantageux dans des situations où les méthodes traditionnelles de contact ne sont pas pratiques. Ce projet vise à développer un système de mesure de la température simple mais efficace en utilisant Arduino
Matériel et Méthodes
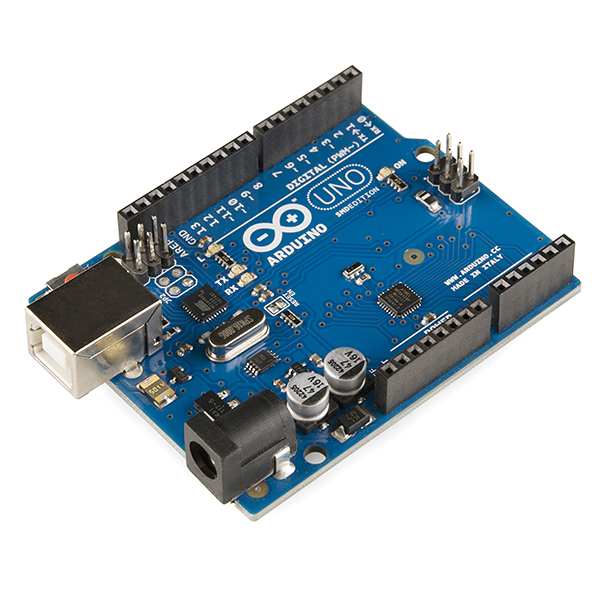
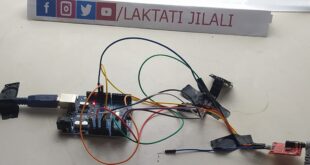
Arduino Uno : Le microcontrôleur principal pour le traitement des données.
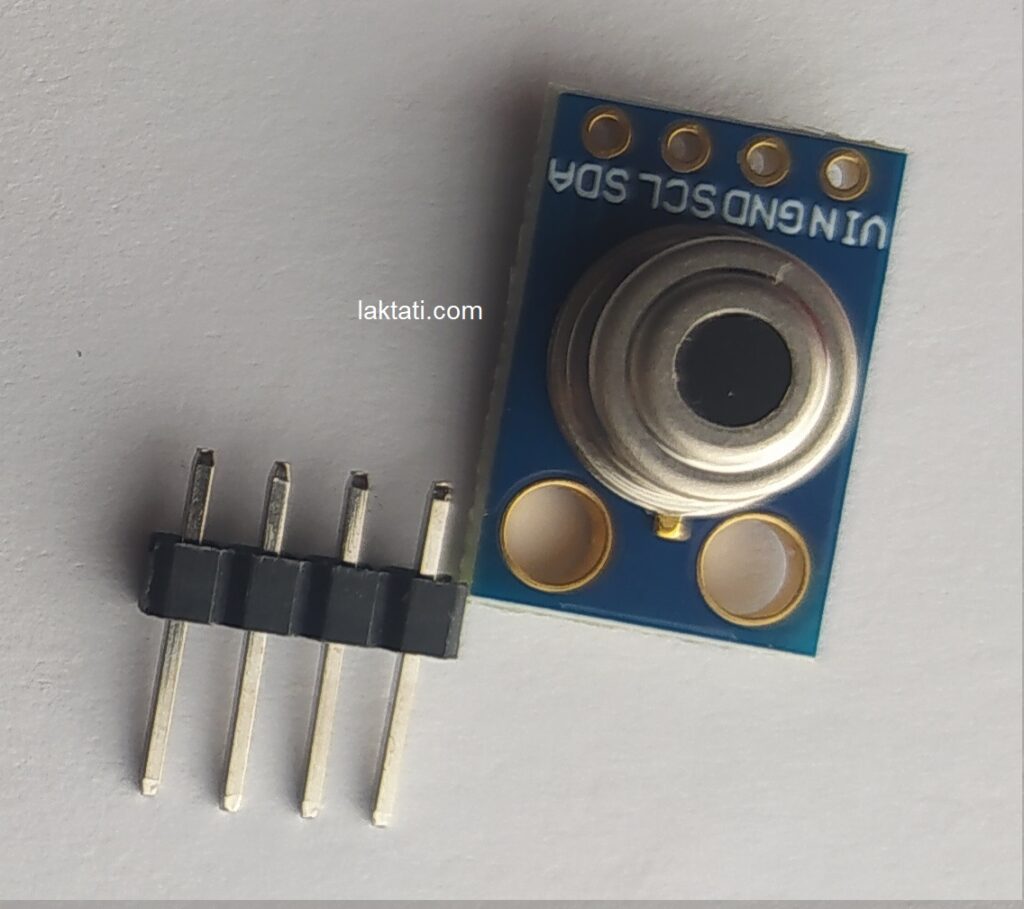
Capteur de Température Infrarouge MLX90614:
Un capteur sans contact pour mesurer les températures corporelles et ambiantes:
- VIN (or VCC): Connected to the 5V pin of the Arduino.
- GND: Connected to the GND pin of the Arduino.
- SCL: Connected to the A5 pin of the Arduino (I2C clock).
- SDA: Connected to the A4 pin of the Arduino (I2C data).
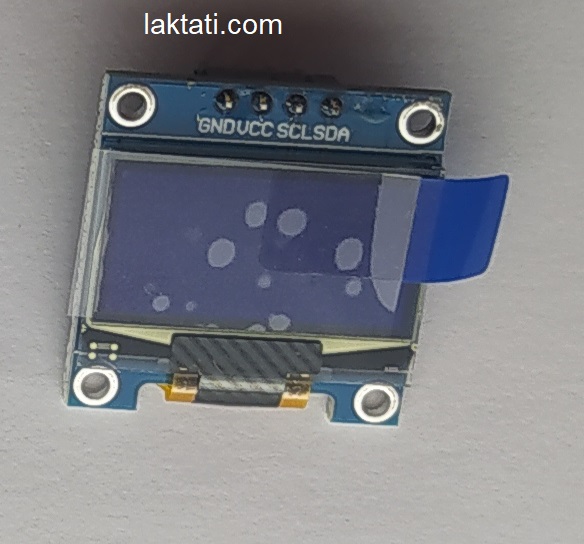
0.96″ I2C OLED Display:
- VCC: Connected to the 3.3V or 5V pin of the Arduino.
- GND: Connected to the GND pin of the Arduino.
- SCL: Connected to the A5 pin of the Arduino (shared with the MLX90614).
- SDA: Connected to the A4 pin of the Arduino (shared with the MLX90614).
Code Implementation
include <Wire.h>

include <Adafruit_MLX90614.h>

include <Adafruit_SSD1306.h>

// Creating objects for the MLX90614 sensor and OLED display

Adafruit_MLX90614 mlx = Adafruit_MLX90614();

Adafruit_SSD1306 display(128, 64, &Wire);  // OLED display size: 128x64

void setup() {

  Serial.begin(9600);  // Initialize serial communication

  // Initialize MLX90614 sensor

  if (!mlx.begin()) {

    Serial.println("Error initializing MLX90614 sensor!");

    while (1);

  }

  // Initialize OLED display with I2C address (0x3C or 0x3D)

  if (!display.begin(SSD1306_SWITCHCAPVCC, 0x3C)) {

    Serial.println("Error initializing OLED display!");

    while (1);

  }

  display.clearDisplay();  // Clear display at startup

  display.display();

}

void loop() {

  // Read body and ambient temperature

  float tempObject = mlx.readObjectTempC();

  float tempAmbient = mlx.readAmbientTempC();

  // Display results on OLED

  display.clearDisplay();

  display.setTextSize(1);

  display.setTextColor(SSD1306_WHITE);

  display.setCursor(0, 0);

  display.print("Temp Corp: ");

  display.print(tempObject);

  display.print(" C");

  display.setCursor(0, 16);

  display.print("Temp Amb: ");

  display.print(tempAmbient);

  display.print(" C");

  display.display();

  // Print results to serial monitor

  Serial.print("Body Temperature: "); Serial.print(tempObject); Serial.println(" C");

  Serial.print("Ambient Temperature: "); Serial.print(tempAmbient); Serial.println(" C");

    delay(1000);  // Wait 1 second before repeating

}
Résultats
Le système mis en œuvre mesure et affiche avec succès les températures corporelles et ambiantes. Lorsque le capteur détecte une température au-dessus d’un seuil spécifique (par exemple, 30°C), il fournit des lectures en temps réel sur l’écran OLED.
Conclusion
Cet article démontre la faisabilité de créer un système de mesure de la température simple en utilisant Arduino et la technologie infrarouge. Des travaux futurs peuvent consister à améliorer la précision du système et à élargir ses applications.
